Sharp R-425E Bedienungshandbuch
Stöbern Sie online oder laden Sie Bedienungshandbuch nach Mikrowellen Sharp R-425E herunter. Sharp R-425E Owner`s manual Benutzerhandbuch
- Seite / 92
- Inhaltsverzeichnis
- LESEZEICHEN
- HG-425e 1
- WELCOME! 3
- GENERAL PRECAUTIONS 4
- TABLE OF CONTENTS 6
- 1-800-854-1594 7
- ASSEMBLY 10
- CONNECTOR PANELS 16
- PANEL CONTROLS 17
- DISK DRIVE 28
- DISPLAY SCREEN 30
- DEMOMONSTRATION SONGS 31
- DATA WHEEL 33
- – + 33
- GRAND PIANO 36
- Solo Piano Swing 38
- AUTO ACCOMPANIMENT 42
- AUTO ACCOMPANIMENT - TYPES 43
- AUTO ACCOMPANIMENT - TYPES 44
- ACCOMP : Fingered 46
- LEFT RIGHT 49
- SETUP - PERFORMANCE MENU 50
- SETUP - HARMONY MENU 54
- SETUP - KEY MODE MENU 55
- SETUP - SUSTAIN MENU 56
- SETUP - REVERB MENU 57
- SETUP - EFFECTS MENU 58
- - CHORD MENU 59
- SETUP - PEDAL MENU 60
- SETUP -PERCUSSION MENU 61
- SETUP - METRONOME MENU 62
- REGISTRATION MEMORY 63
- RECORD FUNCTIONS 64
- RECORDING 66
- RECORDING - PLAYBACK 67
- RECORDING - MARK 68
- SONG - PLAY ALONG SONG 69
- SONG - LESSON 70
- DISK MENU 72
- DISK - LOAD SONG 73
- DISK - SAVE SONG 74
- DISK - PLAY DISK 75
- DISK - PLAY DISK MENUS 76
- DISK - UTILITY 77
- MIDI & VIDEO OUT JACKS 79
- MIDI IMPLEMENTATION CHART 82
- VOICE LIST 83
- STYLE LIST 84
- DRUM KIT LIST 85
- SPECIFICATIONS 87
- QUESTIONS 88
- WARRANTY 90
- Mini-Grande 92
- Digital Piano 92
Inhaltsverzeichnis
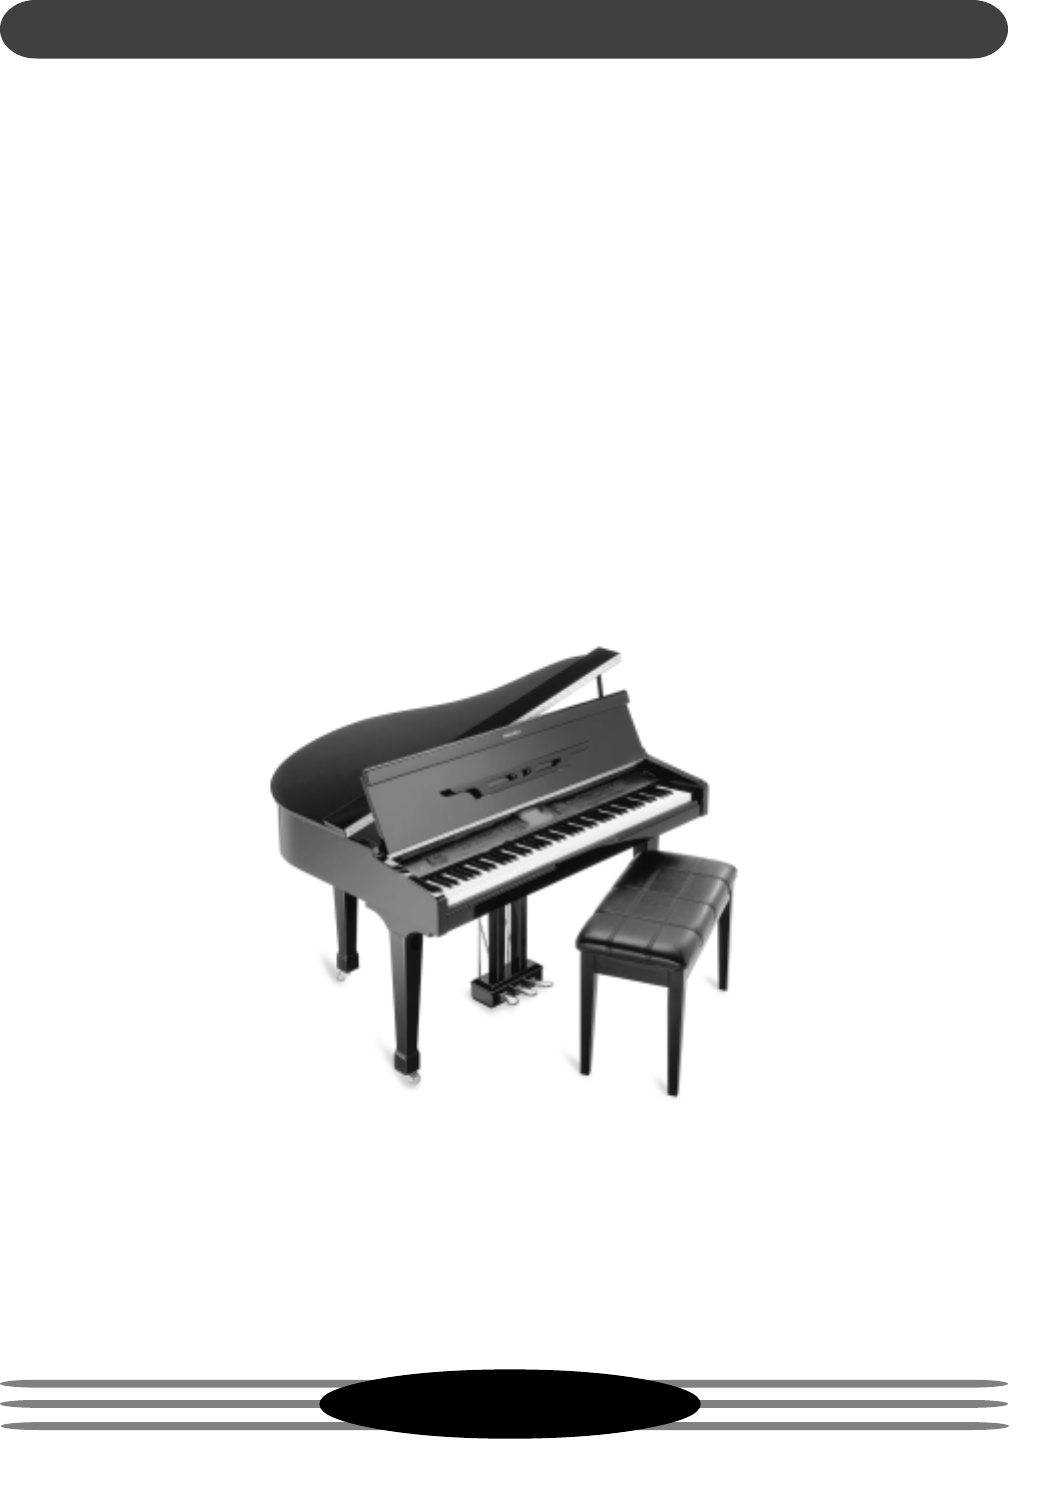
1 HG-425e MINI GRANDE DIGITAL PIANOSUZUKI Pianos OWNER’S MANUALSUZUKI
10ASSEMBLY2. UNPACKING PIANO LEGS & PEDAL ASSEMBLYA. Get the Medium Sized box labeled ‘Grand Pedal/Grand Leg’.• Carefully slit the tape and op
11ASSEMBLYA. Assembly Positions.• You will see the following areas on the bottom of your piano.1. Right Piano Leg Position2. Pedal Assembly Positio
12ASSEMBLYA. Pre-Pedal Assembly.• Tighten both knobs on the bottom of the pedal assemblyclockwise as shown, until they are as close to the pedal boar
13ASSEMBLYD. The Support Rods.• Attach the pedal support rods to the piano bottom. Find thepre-drilled holes on either side of the speaker. Use ther
14ASSEMBLYA. Pad the Piano.• Make a thick pad by folding a blanket or quilt in quarters.Place it so the pedal assembly will land on it. Using 2 or 3
15ASSEMBLYWARNING• When positioning the piano in your home it is recommendedthat you carry it to the final position. The solid brass castersmay be da
16CONNECTOR PANELS1. MIDI OUT / MIDI IN / MIDI THRU - This piano contains MIDI in, MIDIthru and MIDI output ports. MIDI jacks allow communication wit
17PANEL CONTROLSThis Suzuki piano’s control panel is designed for ease of use and intuitive playing. The following is a briefdescription of all the f
18PANEL CONTROLS78DEMOSET UPRHYTHM CONTROLFADEFILL TO VARFILL INSTART / STOPINTRO / END – TEMPO + ONE TOUCH ACCOMPSYNCH97. DEMO (DEMONSTRATI
19PANEL CONTROLS1110RHYTHM CONTROLFADEFILL TO VARFILL INSTART / STOPINTRO / END – TEMPO + ONE TOUCH ACCOMPSYNCH1210. ONE TOUCH - This button
2
20PANEL CONTROLS13 14 15RHYTHM CONTROLFADEFILL TO VARFILL INSTART / STOPINTRO / END – TEMPO + ONE TOUCH ACCOMPSYNCHBIG BAND BOSSAPOPACOUSTIC
21PANEL CONTROLS18FADEFILL TO VARFILL INSTART / STOP – TEMPO + ONE TOUCH ACCOMP BIG BAND BOSSA SWINGS. BALLADR & BLATINROCKOLDIESPOPACOUS
22PANEL CONTROLS21 2220LEFT RIGHTSCREEN– +VALUEENTERESCAPECURSOR192319. CURSOR - The CURSOR button group (right arrow, left ar
23PANEL CONTROLS252624EFFECTSLOWERLAYERREVERBGRAND PIANOUPPERSOUND GROUPREGISTRATION MEMORYPIANOVIBESORGAN GUITARBASS VIOLIN STRINGSSTL.DRUMBANJOSYN
24PANEL CONTROLS30EFFECTSREVERBGRAND PIANOTRUMPETSOUND GROUPSOUND FXREGISTRATION MEMORYPIANOVIBESORGAN GUITARBASS VIOLIN STRINGSSTL.DRUMBANJOSYNTH F
25PANEL CONTROLS34. ACCOMP (ACCOMPANIMENT) - Music Recorder Section - The ACCOMPbutton is used to record the selected auto Accompaniment Rhythm Style
26PANEL CONTROLSACCOMPMEL. 1 MEL. 2 MEL. 3 MEL. 4 RESETMARKBEG. MARKRECORDSTOPPLAY/PAUSESONGMIDIDISK METRONOMECOMPOSER37 38 39 40 4137. PLAY/PAUSE -
27PANEL CONTROLSMEL. 2 MEL. 3 MEL. 4 RESETMARKBEG. MARKRECORDSONGMIDIDISKMETRONOME42 4344 4542. DISK - The DISK button toggles the disk the LCD Displ
28DISK DRIVEDISK DRIVE - The disk drive is located under the piano keys on the right handside of the unit. It is used to play a floppy disk.Please se
29PIANO PEDALS1. SOFT PEDAL - When the left pedal is engaged the piano volume isreduced and the timbre slightly altered on the notes that are played.2
3WELCOME!We would like to express our appreciation and congratulate you for purchasing this Suzuki Mini-Grande digitalpiano. This piano has been desi
30DISPLAY SCREENLEFT RIGHTSCREEN– +VALUEENTERESCAPECURSORSimple Selecting and Engaging of various Features and Functions:The Ma
31DEMOMONSTRATION SONGSSELECT AND PLAY A DEMO SONG -1. Press the DEMO button, the indicator will turn on. The first demo songwill playback instantly.
32PIANO VOICES - SOUND CHANNEL MODESASSIGNING DIFFERENT PIANO SOUND CHANNEL MODES -Depending on your playing style this piano can be set up to play in
33PIANO VOICES - VOICE SELECTION– +VALUELOWERLAYERUPPERNC1 : Big BandA1/ = 10020 : Church OrganVOICE SELECTION FOR UPPER, LAYER
34TRUMPETSOUND GROUPSOUND FXPIANOVIBESORGAN GUITARBASS VIOLIN STRINGSSTL.DRUMBANJOSYNTH FXSYNTHSYNTH LEADFLUTESAXOPHONEQuick Select Sound Group Butto
35PIANO VOICES - SELECTING ALL VOICESReed Group ASoprano SaxTenor SaxAlto SaxBaritone SaxReed Group BOboeBassoonEnglish Ho
36The Grand Piano, Reverb and Chorus Buttons can reset yourpiano’s current functions or add Digital Effects to your selectedInstrument Voice.GRAND PI
37RHYTHM SECTION - SELECTING A RHYTHMRHYTHM STYLE SELECTION - Your Suzuki HG-425e Piano has a large varietyof exciting musical “Rhyrhm Styles” that y
38RHYTHM SECTION - SELECTING A RHYTHMSELECTING ONE OF THE 70 RHYTHM STYLES FROM THE RHYTHMSTYLE BUTTON GROUPS1. Press one of the quick select RHYTHM S
39RHYTHM SECTION - SELECTING A RHYTHMSELECTING A RHYTHM STYLE USING LCD DISPLAY PANEL CONTROLSSelecting a Rhythm Style using only the Cursor and Value
4GENERAL PRECAUTIONSCAUTIONRISK OF ELECTRIC SHOCKDO NOT OPENCAUTION: TO REDUCE THE RISK OF ELECTRIC SHOCK,DO NOT REMOVE COVER OR BACKNO USER-SERVICEAB
40FILL TO VARRHYTHM SECTION - PLAYING THE RHYTHMRHYTHM CONTROLFADEFILL TO VARFILL INSTART / STOPINTRO / ENDSYNCHSTRAIGHT START1. Press the Start/Stop
41RHYTHM SECTION - PLAYING THE RHYTHMFADE -Finish the Rhythm Performance with by Fading the Rhyrhm Volume toZero.1. Press the Start / Stop Button2. P
42AUTO ACCOMPANIMENTSimply by playing a chord on the keyboard, the AUTO ACCOMPANIMENTfunction automatically plays an accompaniment pattern which matc
43AUTO ACCOMPANIMENT - TYPESHOW TO PLAY CHORDSThere are 3 different ways to specify chords on the Keyboard.Basic Mode (One Finger)For beginner player
44AUTO ACCOMPANIMENT - TYPESFINGERING GUIDEPlease note, the notes listed inparentheses can be omitted. The listed chord fingerings are all inroot note
45PIANO CHORD MODE -In the Piano Mode the entire keyboard can be used to specify chords forthe automatic accompaniment.Please Note: In this Mode the k
46AUTO ACCOMPANIMENT - HOW TO USESELECTING YOUR AUTO CHORD TYPE1. Press the ACCOMP button,Its indicator LED will turn on.The LCD Display Screen will s
47AUTO ACCOMPANIMENT - HOW TO PLAYPLAYING IN THE AUTO ACCOMPANIMENT MODE -1. Press the ACCOMP button its LED indicator light will turn on.2. Select th
48AUTO ACCOMPANIMENT - HOW TO PLAYCONTINUEDFILL IN -You can insert a fill-in pattern any time during the AccompanimentOrchestration.Choose from two di
49SETUPUSING THE SETUP MENU1. Press the SETUP button.The Initial Set Up Screen Menu will appear on the LCD Display.As Shown Below2. Press the SCREEN R
5TAKING CARE OF YOUR DIGITAL PIANOThis Suzuki digital piano will supply you with years of musical enjoyment if you follow the simple rules listed belo
50SETUP MODEPERFORMANCE SETUP MENU1. Press the SETUP button.The first Set Up Menu Screen will appear on the LCD Screen2. The Performance Listing will
51SETUP - PERFORMANCE MENUPerformance SetupVelocityTransposNorm0Split Point G2Screen Hold 45Performance SetupVelocityTransposNorm0Split Point G2Screen
52PERFORMANCE- SETUP MENU1. Press the SETUP button.The first Set Up Menu Screen will appear on the LCD Screen2. The Performance Listing will be highl
53SETUP - PERFORMANCE MENUPERFORMANCE- SETUP MENU1. Press the SETUP button.The first Set Up Menu Screen will appear on the LCD Screen2. The Performan
54SETUP - HARMONY MENUHarmonyTrioOFFDuetOFFOctOFFHARMONY SETUP MENU1. Press the SETUP button.2. Use the CURSOR button to highlight the Harmony menu.3.
55SETUP - KEY MODE MENUKey ModeOFFManual BassLower Hold0FFKey ModeOFFManual BassLower Hold0FFKEY MODE SETUP MENU1. Press the SETUP button.2. Use the C
56SETUP - SUSTAIN MENUSustainUPPERONLAYERONLOWERONSustainUPPERONLAYERONLOWERONSustainUPPERONLAYERONLOWERONSUSTAIN - SETUP MENU1. Press the SETUP butto
57SETUP - REVERB MENUReverb SettingReverb UPPERRoom 3100LAYER LOWER100 100REVERB - SETUP MENU1. Press the SETUP button.2. Use the SCREEN RIGHT button
58SETUP - EFFECTS MENUEffect SettingEffect UPPERChorus 3100LAYER LOWER100 100EFFECTS (CHORUS) - SETUP MENU1. Press the SETUP button.2. Use the SCREEN
59SETUP - CHORD MENUACCOMP : FingeredOne FingerPiano ModeFingeredCHORD - SETUP MENU1. Press the SETUP button.2. Use the SCREEN RIGHT button to access
6TABLE OF CONTENTS ASSEMBLY ... 7CONNECTOR PANELS ...
60SETUP - PEDAL MENUPedal AssignStart/StopIntro/EndingFillLower HoldPEDAL ASSIGN - SETUP MENU1. Press the SETUP button.2. Use the SCREEN RIGHT button
61SETUP -PERCUSSION MENUPercussion SetupDrum KitsOFFPERCUSSION (DRUM KIT SELECTION) -1. Press the SETUP button.2. Use the SCREEN RIGHT button to acces
62SETUP - METRONOME MENUMetronome SetupTime SignatureSoundTempo100120Volume4/46232METRONOME - SETUP MENU1. Press the SETUP button.2. Use the SCREEN RI
63REGISTRATION MEMORYREGISTRATIONA registration is a particular group settings such as style, voice, chord and otherparameters or features that you ha
64RECORD FUNCTIONSThis piano’s 5 track music recorder (sequencer), is designed to be very simple touse.It will record all note events and the accompan
65RECORD FUNCTIONSRECORD FEATURES - continuedAuto Accompaniment Track (Accomp Button) -The Auto Accompaniment track will record the chord changes, sty
66RECORDINGHOW TO RECORDRECORDING1. Prepare -Prepare to record by setting the voice, style, tempo and reverb level andother parameters as desired.2. S
67RECORDING - PLAYBACKACCOMPMEL. 1 MEL. 2 MEL. 3 MEL. 4 RESETEND MARKBEG. MARKRECORDSTOPPLAY/PAUSECOMPOSERPLAYBACKTo listen to your recording follow
68RECORDING - MARKMARK -The mark feature allows you to isolate a section of a track of yourrecording.If you would like study or to re-do a segment of
69SONG - PLAY ALONG SONGThis piano includes a range of songs covering a variety of genres that are enjoy-able to listen to, or to play along with. Yo
7ASSEMBLYPLEASE DO NOT ATTEMPT TO ASSEMBLE YOUR PIANOBEFORE READING THESE INSTRUCTIONS!IF YOU HAVE ANY QUESTION OR PROBLEMS,DO NOT CALL OR RETURN PROD
70SONG - LESSONUSING THE LESSON FEATUREFrom Song Selected Menu Screen Shown AboveEX: Test Left Hand Play (listen to right hand only and play left hand
71SONG - LESSONLESSON FEATURESTEST - Pressing the ENTER button engages the TEST mode when hightlighted.You may test yourself on the right hand melody,
72DISKDISK FEATURES -The Disk features allows you to Load Songs, Save Songs, Delete SongFiles and Rename your song files.Microphone Jack InputFloppy
73DISK - LOAD SONGLoad Song -Load Song retrieves one of your previously stored Music Performancesor MIDI File songs from the floppy disk.Since the Sta
74DISK - SAVE SONGDISK MENULoad SongSave SongUtilityPlay DiskSAVE SONG -Save song function lets you save your musical performance data that yourecord
75DISK - PLAY DISKDISK MENULoad SongPlay DiskUtilitySave SongPLAY DISK -The Play Disk function lets you play all SMF MIDI Song Files that are onthe f
76DISK - PLAY DISK MENUSLoad Song Various Menu Screens -Load Song function has various menu screens that allow you to viewSong Lyrics and to play alon
77DISK - UTILITYUTILITY - Selecting Utility will access the Disk Utility Screen.Use the Utility sub-menu to access the following options.Format - Form
78DISK - UTILITYUTILITY MENU - continuedDelete - Delete is used to remove unwanted files from thedisk to make more space available.1. Load the disk in
79MIDI & VIDEO OUT JACKSMIDI stands for Musical Instrument Digital Interface. This is a world wide standardcommunication interface that enables e
8ASSEMBLYA. You should have 3 cartons as pictured.• Large Carton: Grand Piano• Medium Carton: 3 piano legs and piano pedal assembly• Small Carton:
80MIDIMIDI CHANNELS - The MIDI system in this unit has 16 channels numbered from1-16. Each of the channels is responsible for a voice. When the inst
81MIDIMIDI LOCAL CONTROL MODE - Local control refers to the factthat normally, this Suzuki piano controls the internal tonegenerator. This is the nor
82MIDI IMPLEMENTATION CHARTFunction Transmitted Recognized RemarkBasic Channel 1 CH 1-16 CHChannel changed 1-16 CH 1-16 CHDefault Mode 3 3Note Number
83VOICE LISTPlease note: The MIDI program number for any voice listed is one less than the display number.Group A Group B1 : Grand Piano 2 : Bright P
84STYLE LISTGroup A Group B1 : Big Band 1 2 : Miller Band 5 : Orch. Waltz 6 : Jazz Waltz3 : Latin Big Band 4 : Broadway 7 : Jazz Band8 : Cool Bossa 9
85DRUM KIT LISTDRUM KIT LIST 1No.-Key27-Eb128-E129-F130-F#131-G132-G#133-A134-Bb135-B136-C237-C#238-D239-Eb240-E241-F242-F#243-G244-G#245-A246-Bb247
86DRUM KIT LIST 2No.-Key27-Eb128-E129-F130-F#131-G132-G#133-A134-Bb135-B136-C237-C#238-D239-Eb240-E241-F242-F#243-G244-G#245-A246-Bb247-B248-C349-C#35
87SPECIFICATIONSSPECIFICATIONSPIANO88-note, hammer-action pianoPOLYPHONY: 64VOICES128 Voices16 quick select voice buttonsVOICE MODEUpperLayer (dual)
88QUESTIONS AND/OR PROBLEMSWhere is the serial number on my piano? The serial number of the piano should be directly underneath the piano on theright
89NOTES
9ASSEMBLYD. Inner carton.• Locate the back of the inner carton. It is marked with asticker.• Use a SMALL knife to slit the center, top and bottom ta
90WARRANTYThis product, except the exterior cosmetic parts, is warrantedby the Suzuki Corporation to the original purchaser to be freefrom defects in
91
92SUZUKIMini-GrandeDigital PianoSUZUKIOWNER’S MANUALHG-425eP.O. BOX 261030SAN DIEGO, CALIFORNIA 92196(858) 566-9710Visit us on the web at www.suzukim
Weitere Dokumente für Mikrowellen Sharp R-425E

Verwandte Produkte und Handbücher für Mikrowellen Sharp R-425E
 (28 Seiten)
(4 Seiten)
(28 Seiten)
(4 Seiten)
 (52 Seiten)
(67 Seiten)
(52 Seiten)
(67 Seiten)
 (48 Seiten)
(34 Seiten)
(69 Seiten)
(49 Seiten)
(8 Seiten)
(14 Seiten)
(48 Seiten)
(14 Seiten)
(36 Seiten)
(48 Seiten)
(34 Seiten)
(69 Seiten)
(49 Seiten)
(8 Seiten)
(14 Seiten)
(48 Seiten)
(14 Seiten)
(36 Seiten)
 (15 Seiten)
(30 Seiten)
(15 Seiten)
(30 Seiten)
 (17 Seiten)
(100 Seiten)
(17 Seiten)
(100 Seiten)
© 2020, manymanuals.de. Alle Rechte vorbehalten. | 0.050 s |
 Manymanuals.com
 Manymanuals.de
 Manymanuals.fr
 Manymanuals.it
 Manymanuals.pl
 Manymanuals.cz
 Manymanuals.es
 Manymanuals-pt.com
Kommentare zu diesen Handbüchern