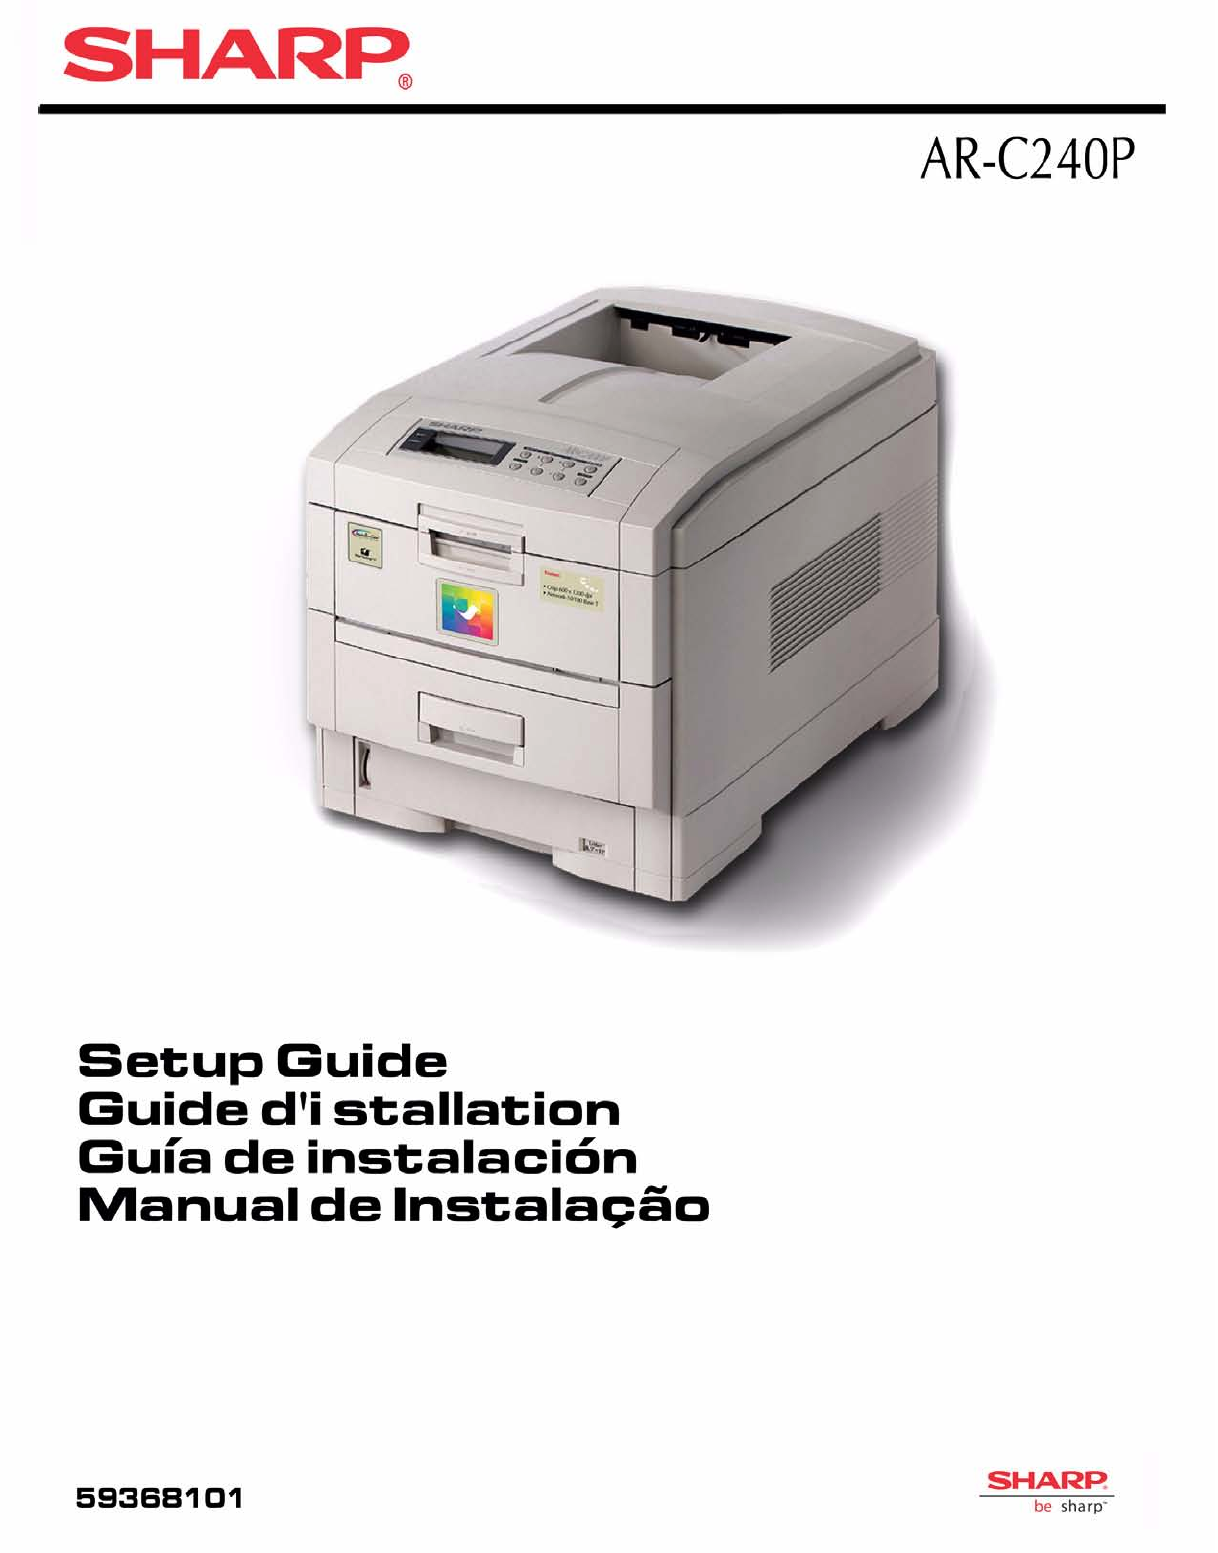
Sharp AR-C240P Installationshandbuch
Stöbern Sie online oder laden Sie Installationshandbuch nach Laser- / LED-Drucker Sharp AR-C240P herunter. Sharp AR-C240P Installation Manual Benutzerhandbuch
- Seite / 66
- Inhaltsverzeichnis
- LESEZEICHEN
- Sharp AR-C240P 10
- Ordering Replacement Supplies 25
- Media Settings 26
- Media Settings (cont.) 27
- Trays 1, 2, 3 28
- Multi-Purpose (MP) Tray 29
- Multi-Purpose Tray (cont.) 30
- Loading Media: 32
- Multi-Purpose (MP) Tray 32
- Selecting/Using Paper 33
- Specifications 34
- Printing Transparencies 35
- Selecting/Using Labels 36
- Selecting/Using Envelopes 37
- Selecting/Using Thick Media 38
- Secure Print Feature 39
- Proof & Print Feature 39
- Overlays (Forms) 39
- Secure Print 40
- Proof & Print 41
- Printing Built-In Reports 42
- Printing Lists of Fonts 43
- Setting Power Save Parameters 44
- Control Panel Buttons 45
- Control Panel Buttons (cont.) 46
- Control Panel Lights 48
- Clearing Media Jams 49
- Clearing Media Jams (cont.) 50
- Clearing Paper Jams (cont.) 57
- Changing Toner Cartridges 59
- The TONER LOW message should 60
- Error Messages 61
- Error Messages (cont.) 62
- Service & Support 65
Inhaltsverzeichnis
10EsSharp AR-C240PEFrPtEsReplace image drums (1). Remove and retain seals (2). Remettez les tambours d’imprssion en place (1). Retirez les composantsd
Sharp AR-C240P11EFrEsPtGrasp the orange clip, squeezing the tab to release it. Slide the clip out and discard.Saisissez la pince orange et incez la la
12EsSharp AR-C240PEFrPtEsShake toner cartridge.Secourez la cartouche de toner.Agite el cartucho de tóner.Abane o cartucho de toner.
Sharp AR-C240P13EFrEsPtRemove sealing tape from toner cartridge.Retirez le ruban adhésif d’étanchéité de la cartouche de toner.Retire la cinta de prec
14EsSharp AR-C240PEFrPtEsPlace opening on left side of toner cartridge on image drum peg.Installez le côté de la cartouche de toner dans l’ergot de po
Sharp AR-C240P15EFrEsPtSlide right edge of toner cartridge into image drum.Faites glisser le bord droit de la cartouche de toner dans le tambour d’imp
16EsSharp AR-C240PEFrPtEsLock toner cartridge with colored lever.Enclenchez la cartouche de toner avec le levier de couleur.Bloquee el cartucho de tón
Sharp AR-C240P17EFrEsPtClose top cover.Refermez le capot supérieur.Cierre la cubierta superior.Feche a tampa superior.
18EsSharp AR-C240PEFrPtEsPull out paper tray.Sortez le bac à papier.Saque la bandeja del papel.Retire o tabuleiro de papel.
Sharp AR-C240P19EFrEsPtSet guides to paper size.Réglez les guides suivant le format de papier utilisé.Ajuste las guías al tamaño del papel.Ajuste as g
2EsSharp AR-C240PEFrPtEsRemove cardboard overpack revealing contents.(1) Printer, (2) Light-shield bags, (3) Power Cable, (4) Toner Cartridges, (5) Fe
20EsSharp AR-C240PEFrPtEsLoad paper.Mettez du papier dedans.Cargue el papel.Coloque o papel.
Sharp AR-C240P21EFrEsPt211. Check that rear paper guide is against paper stack and locked.2. Check that side paper guides are against paper stack and
22EsSharp AR-C240PEFrPtEsGently replace paper tray.Repoussez le bac à papier doucement à sa place.Vuelva a introducir suavemente la bandeja del papel.
Sharp AR-C240P23EFrEsPt12Insert power cable (1) and then switch on (2).Introduisez le cordon d’alimentation (1) et mettez l’imprimante sous tension (2
Sharp AR-C240P24If you need further assistance or have questionsSee our web site: http://www.sharpusa.comSi vous avez besoin d’une assistance plus app
2Ordering Replacement SuppliesHow to Order• Consult the Sharp Authorized Dealer where you purchased your printer.• To find the authorized Sharp servic
3Media SettingsWhy Change Media Settings?Improper media settings:• cause poor quality printing• cause flaking• can damage the printerDefault Media Set
4Media Settings (cont.)Media Settings for Individual Print JobsIf you are printing a job on special media, you can temporarily load the media in a tra
5Changing Default Media Settings: Trays 1, 2, 3Note: The “…” in these steps indicates that you should keep pressing the button repetitively until you
6Changing Default Media Settings:Multi-Purpose (MP) TrayTo Set Transparencies as the Default MediaNote: “…” = keep pressing the button repetitively un
Sharp AR-C240P3EFrEsPt1. Remove top packing pieces.2. Open protective plastic bag.1. Retirez les pièces de protection en plastique. 2. Ouvrez le sac d
7Changing Default Media Settings:Multi-Purpose Tray (cont.)To Set Labels or Heavy Paper as the Default MediaNote:“…” = keep pressing the button repeti
8Loading Media: Trays 1, 2 & 312345Media Weight Range:20 to 54 lb. US Bond (75 g/m2 to 203 g/m2)Media Size Range: Tray 1Paper: min. 4.13'&apo
9Loading Media: Multi-Purpose (MP) Tray123456 For letterhead stationery:Media Weight Rangeup to 113 lb. Index (203 g/m2)Media Size Range: min. 3.5&quo
10Selecting/Using PaperImportant Information!For optimum results make sure that the paper you use conforms to the specifications outlined in the follo
11Selecting/Using Paper (continued)SpecificationsCaution!The ink on pre-printed letterhead stationery must be able to withstand 446°F (230°C) for 0.2
12Selecting/Using TransparenciesSpecificationsCaution!Transparencies must be able to withstand 446°F (230°C) for 0.2 second, including mechanical pres
13Selecting/Using LabelsLabel ParametersImportant!Place labels in the MP Tray face up.Caution!Labels must be able to withstand 446°F (230°C) for 0.2 s
14Selecting/Using EnvelopesSpecificationsCaution!Envelopes must be able to withstand 446°F (230°C) for 0.2 second, including mechanical pressures to 2
15Selecting/Using Thick MediaSample Ream Label:1 Media Weight, Index (see page 4).2 Media Weight, Metric: This confirms Index vs. US Bond (see page 4)
16Ideas for Using Printer FeaturesNote: For detailed information on these features, see your on-line User’s GuideSecure Print Feature Ideal for print
4EsSharp AR-C240PEFrPtEsSelect a location.Choisissez l’endroit de l’installation.Seleccione la ubicación.Seleccione o local.20cm7.875in40cm15.75in20cm
17Secure PrintTo print out a secure (confidential) document, you must know:• the document name• your personal password (PIN)To Print a Confidential Do
18Proof & PrintTo print a proofed document, you must know:• the document name• your personal password (PIN)To Print a Proofed Document Using the C
19Printing Built-In ReportsPrinting the Menu Defaults (MenuMap)Note: “…” = keep pressing the button repetitively until you see the display indicated.T
20Printing Built-In Reports (cont.)Printing Lists of Fonts(PCL, PostScript, IBM Proprinter, or Epson FX Emulation)Note: “…” = keep pressing the button
21Setting Power Save ParametersPower SavePower Save sets how long the printer waits before going into standby mode. This saves energy, but the printer
22Control Panel ButtonsMENU ButtonPrinter On Line or Off LinePress to enter the Menu mode.Menu Mode• Press to advance to the next Category in the Menu
23Control Panel Buttons (cont.)ITEM + ButtonMenu Mode• Press to advance to the next Item in the Menu.• Press and hold to advance through the menu Item
24Control Panel Buttons (cont.)SELECT ButtonMenu Mode• Press to engage a new value for an Item (An asterisk appears next to the new setting).• Press t
25Control Panel LightsReady LED (Green)OnThe printer is on line.OffThe printer is off line.FlashingThe printer is receiving data.Attention LED (Red)On
26Clearing Media JamsJam 370CHECK DUPLEX370: PAPER JAM12345
Sharp AR-C240P5EFrEsPt48kg106lbsColoque a impressora no local seleccionado.Lift printer and place on selected location.Soulevez l’imprimante et placez
27Clearing Media Jams (cont.)Jam 371CHECK DUPLEX371: PAPER JAM12345
28Clearing Media Jams (cont.)Jam 372CHECK DUPLEX372: PAPER JAM12345
29Clearing Media Jams (cont.)Jam 380OPEN FRONT COVER380: PAPER JAM1234
30Clearing Media Jams (cont.)Jam 381OPEN UPPER COVER381: PAPER JAM12Caution!To avoid damage to the drums:• Be sure to set the toner/drum cradle on a f
31Clearing Media Jams (cont.)Jam 382OPEN UPPER COVER382: PAPER JAMIf the sheet is visible:12If the sheet is inside:1Warning!The fuser may be very hot
32Clearing Media Jams (cont.)Jam 382 (cont.)If the sheet is inside and caught in the fuser:Warning!The fuser may be very hot from printing.1Caution!To
33Clearing Media Jams (cont.)Jam 382 (cont.)56Jam 383OPEN UPPER COVER383: PAPER JAM1234567
34Clearing Paper Jams (cont.)Jam 390CHECK MP TRAY390: PAPER JAM12Jam 391CHECK TRAY 1391: PAPER JAM123
35Clearing Paper Jams (cont.)Jams 392 and 393CHECK TRAY 2392: PAPER JAMCHECK TRAY 3393: PAPER JAM123
36Changing Toner CartridgesCaution!Be sure to purchase only consumables designated for this printer.INSTALL NEW TONERnnn: XXXX* TONER EMPTY* nnn: XXXX
6EsSharp AR-C240PEFrPtEs1. Remove shipping tape.2. Grasp handle and lift top cover.3. Remove and retain LED array packing strips.1. Retirez les sangle
37Changing Toner Cartridges (cont.)891011121314Important!The TONER LOW message should disappear from the display. If it doesn’t, try printing a page.
38Error MessagesSome of the more common error messages appear below. For additional error messages, see your on-line User’s Guide.XXX TONER LOWThe Pro
39Error Messages (cont.)SET XXX ON MPTRAYAND PUSH ON-LINE SWITCHThe ProblemThe printer has received a job for printing from the Multi-Purpose Tray and
40Error Messages (cont.)CHECK FUSER UNIT320: FUSER UNIT MISSINGThe ProblemThe fuser is not properly installed.What to DoOpen the top cover and check t
41Error Messages (cont.)PRESS ONLINE SWINVALID DATAThe ProblemThe hard disk drive is not available and job spooling cannot take place.What to DoPress
42Service & SupportConsult the Sharp Authorized Dealer where you purchased your printer.To find the authorized Sharp servicing dealer closest to y
43Adobe, and PostScript are trademarks of Adobe Systems, Inc. which may be registered in certain jurisdictions.Avery is a registered trademark of Aver
Sharp AR-C240P7EFrEsPt5Remove Image drums.Caution!Do not expose drum to direct sunlight or let it sit in room light for more than 5 minutes.Retirez le
8EsSharp AR-C240PEFrPtEs5Pull out protective paper tab from image drums. Caution! Do not touch image drum’s green surface. Tirez sur la languette en p
Sharp AR-C240P9EFrEsPtRemove protective sheet, then film. Retirez la feuille de protection puis la pellicule. Retire la hoja de protección y a continu
Verwandte Produkte und Handbücher für Laser- / LED-Drucker Sharp AR-C240P
 (296 Seiten)
(108 Seiten)
(296 Seiten)
(108 Seiten)
© 2020, manymanuals.de. Alle Rechte vorbehalten. | 0.058 s |
 Manymanuals.com
 Manymanuals.de
 Manymanuals.fr
 Manymanuals.it
 Manymanuals.pl
 Manymanuals.cz
 Manymanuals.es
 Manymanuals-pt.com
Kommentare zu diesen Handbüchern