Sharp AR-C260 Bedienungsanleitung
Stöbern Sie online oder laden Sie Bedienungsanleitung nach Drucker Sharp AR-C260 herunter. Sharp AR-C260 User Manual Benutzerhandbuch
- Seite / 140
- Inhaltsverzeichnis
- FEHLERBEHEBUNG
- LESEZEICHEN
Bewertet. / 5. Basierend auf Kundenbewertungen

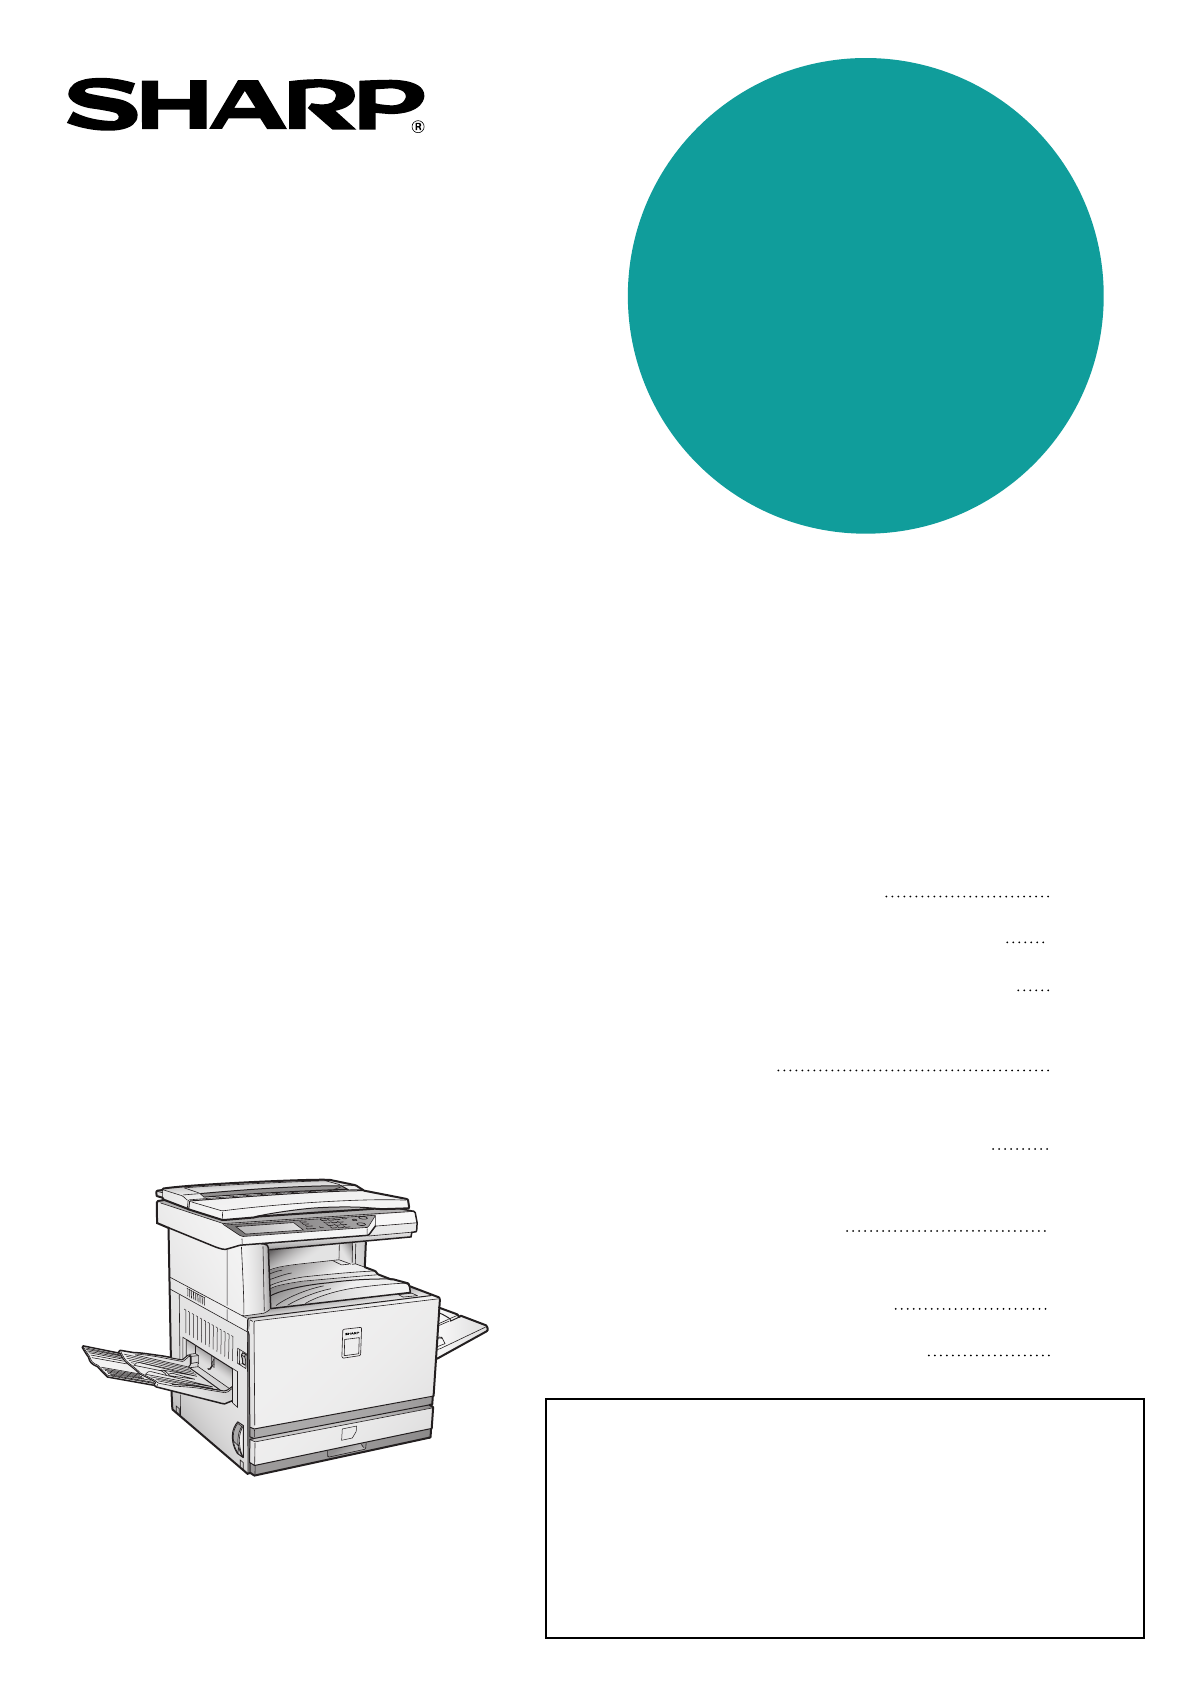
• BEFORE USING
THE PRODUCT
•
MANAGING THE MACHINE
• PERIPHERAL DEVICES
• BEFORE MAKING
COPIES
• BASIC PROCEDURE
FOR MAKING COPIES
• CONVENIENT COPY
FUNCTIONS
•
MACHINE MAINTENANCE
(FOR COPYING)
• SPECIFICATIONS
1-1
2-1
3-1
4-1
5-1
6-1
7-1
8-1
Page
MODEL
AR-C260
AR-C260M
DIGITAL FULL COLOR COPIER/PRINTER (AR-C260)
DIGITAL FULL COLOR MULTIFUNCTIONAL
SYSTEM (AR-C260M)
OPERATION MANUAL
(for general information and copier operation)
AN
KS1
CZZ
Be sure to become thoroughly familiar with this manual to
gain the maximum benefit from the product.
Before installing this product, be sure to read the
installation requirements and cautions sections.
Be sure to keep all operation manuals handy for reference
including this manual, the "Operation manual for general
information and copier operation" and operation manuals
for any optional equipment which has been installed.
- AR-C260M 1
- Warranty 2
- Trademark Acknowledgments 2
- Part 1: General Information 3
- PRODUCT CONFIGURATIONS 5
- OPERATION MANUALS 5
- INSTALLATION REQUIREMENTS 6
- Moving this machine 7
- CAUTIONS 8
- CONTENTS 10
- CHAPTER 1 11
- INTRODUCTION 12
- MAIN FEATURES 12
- Energy saving features 13
- PART NAMES AND FUNCTIONS 14
- Interior 15
- Operation panel 18
- Touch panel 19
- AUDITING MODE 21
- CHAPTER 2 23
- LOADING PAPER 24
- Horizontal 27
- Vertical 27
- Can be used 28
- Cannot be used 28
- 500 sheet paper drawer) 29
- Upper tray: 30
- Middle and lower paper trays: 30
- Specifications of paper trays 31
- Setting the paper type 33
- (except the bypass tray) 33
- Setting the paper size when 33
- PAPER SELECT 34
- AUTO 8½x11 34
- CUSTOM SETTINGS 35
- About the settings 36
- READY TO COPY 37
- CHANGE THE TONER CARTRIDGE 37
- ([ ]) 37
- GENUINE SUPPLIES 39
- MISFEED REMOVAL 40
- Transport area 42
- Exit area 42
- Fusing area 42
- CHAPTER 3 49
- SADDLE STITCH FINISHER 50
- Supplies 51
- <Example> 53
- Roller rotating 56
- LARGE CAPACITY TRAY 63
- Loading paper 64
- Misfeed removal 65
- Part 2: Copier Operation 67
- CHAPTER 4 69
- Operation Panel 71
- Acceptable originals 73
- SETTING ORIGINALS 74
- CHAPTER 5 77
- NORMAL COPYING 78
- 2-SIDED COPY 79
- Copy mode output restrictions 80
- Copy output (sort and group) 81
- About the offset function 81
- Touch the [2-SIDED COPY] key 82
- Touch the [OK] key 82
- AUTO 8½x11 83
- (page 4-6) 85
- EXPOSURE ADJUSTMENTS 86
- REDUCTION/ENLARGEMENT/ZOOM 88
- COPY RATIO 89
- HEAVY PAPER 92
- RANSPARENCY 92
- ENVELOPE 92
- SPECIAL PAPERS 93
- CHAPTER 6 95
- SPECIAL MODES 96
- Margin shift 98
- EDGE ERASE 99
- CENTER EDGE+CENTER 99
- Dual page copy 100
- SPECIAL MODES screen 101
- MODES screen 101
- MARGIN SHIFT 102
- TRANSPARENCY 102
- ■ Copying onto a cover ■ 103
- ■ Not copying onto a cover 103
- PRINT ON FRONT COVER? 104
- COLOR ADJUSTMENTS MENU 105
- OLOR ADJUSTMENTS 106
- RGB ADJUST 106
- COLOR BALANCE 106
- COLOR ADJUSTMENTS 107
- SHARPNESS 107
- SOFT SHARP 107
- Color balance 108
- OKCANCEL 109
- IMAGE EDIT MENU 110
- Original Copy 111
- Photo Repeat 112
- Centering scale 113
- AT MULTI SHOT 114
- E PAMPHLET COPY 114
- SINGLE COLOR 115
- FULL-BLEED 115
- CANCEL OK 117
- AUTO IMAGE 118
- Pamphlet copy 119
- REPEAT MULTI SHOT 119
- SIZE PAMPHLET COPY 119
- M NUMBER 120
- RECALL STORE/DELETE 120
- PROGRAMS 120
- ESS PROGRAM NUMBER 120
- RECALL STORE/ 120
- Recalling a job program 121
- Deleting a stored job program 121
- READ-END 122
- CHAPTER 7 123
- REMOVING AN ORIGINAL MISFEED 124
- USER MAINTENANCE 125
- TROUBLESHOOTING 126
- CHAPTER 8 129
- SPECIFICATIONS 130
- SHARP CORPORATION 140
Inhaltsverzeichnis
Seite 1 - AR-C260M
• BEFORE USING THE PRODUCT•MANAGING THE MACHINE• PERIPHERAL DEVICES• BEFORE MAKING COPIES• BASIC PROCEDURE FOR MAKING COPIES• CONVENIENT COPY FUNCTION
Seite 2 - Trademark Acknowledgments
CONTENTS0-6CHAPTER 4BEFORE MAKING COPIESPART NAMES AND FUNCTIONS (The Reversing Automatic Document Feeder)...
Seite 3 - Part 1: General Information
SPECIAL MODES6-6Dual page copyThe dual page copy function produces separate copies of two documents placed side by side on the document glass.It is es
Seite 4
SPECIAL MODES6-76CenteringWhen the original and copy paper are of different sizes, CENTERING is used to shift the image to the center of thecopy pape
Seite 5 - OPERATION MANUALS
SPECIAL MODES6-8Transparency film with insert sheetsWhen copying onto transparency film, blank insert sheets can be placed between transparent sheets.
Seite 6 - INSTALLATION REQUIREMENTS
SPECIAL MODES6-96CoversThe COVERS mode is used to place covers on the front, back, or both the front and back of multipage documents.To use the COVERS
Seite 7 - Moving this machine
SPECIAL MODES6-101Touch the [COVERS] key on the SPECIALMODES screen.The COVERS settingscreen will appear.The covers icon ( ,etc.) will also appear int
Seite 8 - CAUTIONS
6-116COLOR ADJUSTMENTS MENUThe [COLOR ADJUSTMENTS] menu in [SPECIAL MODES] enables the following parameters to be adjusted tomodify the characteristic
Seite 9
COLOR ADJUSTMENTS MENU6-12RGB adjustStrengthens or weakens one of three primary colors, red (R), green (G), or blue (B).1Touch the [RGB ADJUST] key on
Seite 10 - CONTENTS
COLOR ADJUSTMENTS MENU6-136SharpnessSharpens or softens image outlines.1Touch the [SHARPNESS] key on theCOLOR ADJUSTMENTS menu screen.The SHARPNESSset
Seite 11 - CHAPTER 1
COLOR ADJUSTMENTS MENU6-14Color balanceThis function is used to adjust the color, tone, and density of color copies.1Touch the [COLOR BALANCE] key on
Seite 12 - MAIN FEATURES
COLOR ADJUSTMENTS MENU6-156BrightnessThis copier allows the level of brightness of images to be adjusted.1Touch the [BRIGHTNESS] key on theCOLOR ADJUS
Seite 13 - Energy saving features
1-1CHAPTER 1BEFORE USING THE PRODUCTThis chapter contains basic information that should be read before usingthe product.PageINTRODUCTION ...
Seite 14 - PART NAMES AND FUNCTIONS
6-16IMAGE EDIT MENUTo use the following convenient copy functions, touch the [IMAGE EDIT] key in [SPECIAL MODES].SINGLE COLOR (page 6-17)Produces copi
Seite 15 - Interior
IMAGE EDIT MENU6-176Single colorProduces copies with a selected single color.1Touch the [SINGLE COLOR] key on theIMAGE EDIT screen.The SINGLE COLORset
Seite 16
IMAGE EDIT MENU6-18Photo RepeatPHOTO REPEAT is used to produce repeated images of a photo on a single sheet of copy paper.● Up to 24 repeats can be ma
Seite 17
IMAGE EDIT MENU6-1961Touch the [PHOTO REPEAT] key on theIMAGE EDIT menu screen.The PHOTO REPEATsetting screen willappear.2Touch the key for the desire
Seite 18 - Operation panel
IMAGE EDIT MENU6-201Touch the [MULTI SHOT] key on theIMAGE EDIT menu screen.The MULTI SHOTsetting screen willappear.The multi shot icon ( ,etc.) will
Seite 19 - Touch panel
IMAGE EDIT MENU6-21611" x 17" (A3) Full-bleedIn other copy modes, image loss will occur along the copy edges. When the 11" x 17" (
Seite 20
IMAGE EDIT MENU6-22Multi-page enlargementThis function is used to enlarge an original image to a size larger than 11" x 17" (A3) and print d
Seite 21 - AUDITING MODE
IMAGE EDIT MENU6-2364Check the placement orientation and thenumber of copiesExample: Enlargement size = 22" x 17" (A2), original size = 8-1/
Seite 22
IMAGE EDIT MENU6-24Extra sizeThe EXTRA SIZE function provides a method for entering the dimensions of non-standard size copy paper and non-standard si
Seite 23 - CHAPTER 2
IMAGE EDIT MENU6-256Pamphlet copyThe pamphlet copy function is used to arrange copies in proper order for eventual center-stapling and folding into ab
Seite 24 - LOADING PAPER
1-2INTRODUCTIONTo gain the maximum benefits in using this product, it is recommended that the user read this manual to becomefamiliar with all the fea
Seite 25
6-26JOB PROGRAM MEMORYFrequently used job programs can be stored in each of ten storage registers. This is convenient for quick job recallwithout losi
Seite 26
JOB PROGRAM MEMORY6-276Recalling a job program1Press the [#/P] key.2Touch the desired storage registernumber key to recall the job from memory.When a
Seite 27 - Vertical
6-28INTERRUPTING A COPY RUNINTERRUPT can be used to temporarily stop a long copy run so that another copy job can be run.It is not possible to interru
Seite 28 - Cannot be used
7-1CHAPTER 7MACHINE MAINTENANCE(FOR COPYING)This chapter explains procedures for removing misfeeds in a reversingautomatic document feeder, cleaning t
Seite 29 - 500 sheet paper drawer)
7-2REMOVING AN ORIGINAL MISFEEDRemoving a misfed original from the reversing automaticdocument feederIf an original misfeed occurs in the reversing au
Seite 30 - Middle and lower paper trays:
7-37USER MAINTENANCEThe document glass, document cover and the transport belt of the optional reversing automatic document feedermust be kept clean to
Seite 31 - Specifications of paper trays
7-4TROUBLESHOOTINGWhenever the machine stops or operation is not possible, check the operation panel display for messages. In mostcases, these message
Seite 32
TROUBLESHOOTING7-57Order of copiesincorrectIs the order of originals correct? When using the document glass, set theoriginals from the first page one
Seite 33 - Setting the paper size when
00-08.book 6 ページ 2002年11月8日 金曜日 午前9時39分
Seite 34 - AUTO 8½x11
8-1CHAPTER 8SPECIFICATIONSThis chapter provides specifications for the items indicated below. Forthe specifications of the peripheral devices, see Cha
Seite 35 - CUSTOM SETTINGS
MAIN FEATURES1-312A range of optional units to enhance productivityA range of optional equipment is available to enhance productivity, such as duplex
Seite 36 - About the settings
8-2SPECIFICATIONSCopier and Main unit* The indicated first-copy time assumes the following conditions:Upper tray at paper intake / horizontal feeding
Seite 37 - ([ ])
SPECIFICATIONS8-38Continuous copying speed (when the offset function is not used)* The continuous copying speed when the fastest copying conditions ar
Seite 38
SPECIFICATIONS8-4Reversing automatic document feeder (optional)Duplex bypass/inverter unit (optional)Original feed system Automatic continuous feeding
Seite 39 - GENUINE SUPPLIES
8-58INDEX[#/P] key ... 4-3[ ] key ...
Seite 40 - MISFEED REMOVAL
INDEX8-6 IIcon ... 1-9If the machine is to be left unused for a long time.. 0
Seite 41
INDEX8-78 RRADF exit area... 4-2RADF exit area cover... 4-2
Seite 42 - Fusing area
00-08.book 8 ページ 2002年11月8日 金曜日 午前9時39分
Seite 43
00-08.book 8 ページ 2002年11月8日 金曜日 午前9時39分
Seite 44
00-08.book 8 ページ 2002年11月8日 金曜日 午前9時39分
Seite 45
NOTICEBE SURE TO ASK YOUR AUTHORIZED SHARP DEALER ABOUT THE WAR-RANTY THAT YOUR SELLING DEALER EXTENDS TO YOU. In order toassure you, the end-user, of
Seite 46
1-4PART NAMES AND FUNCTIONSExteriorLeft tray (See page 5-5)Finished sheets are deposited here.Left side coverOpen this cover when a paper misfeed occu
Seite 47
AR-C260/AR-C260M (for general information and copier operation)SHARP ELECTRONICS CORPORATIONSharp Plaza, Mahwah, New Jersey 07430-2135.SHARP CORPORATI
Seite 48
PART NAMES AND FUNCTIONS1-51InteriorFusing unitToner images are fused here.Toner cartridgeThe toner cartridge must be replaced whenindicated on the op
Seite 49 - CHAPTER 3
PART NAMES AND FUNCTIONS1-6Part names and functions of peripheral devicesReversing automatic document feeder (AR-RF3)This automatically feeds original
Seite 50 - SADDLE STITCH FINISHER
PART NAMES AND FUNCTIONS1-71 Other optional equipmentPeripheral equipment used when the machine is connected as a computer printer●●●●Print contro
Seite 51 - Supplies
PART NAMES AND FUNCTIONS1-8Operation panelTouch panelThe machine status, messages and touch keys aredisplayed on the panel. The display will change to
Seite 52
PART NAMES AND FUNCTIONS1-91Touch panelUsing the touch panel[Example 1]Items on the touch panelare easily selectable bytouching the key associ-ated wi
Seite 53 - <Example>
WarrantyWhile every effort has been made to make this document as accurate and helpful as possible, SHARP Corporationmakes no warranty of any kind wit
Seite 54
PART NAMES AND FUNCTIONS1-10Job status screen (common to print, copy and network scan)This screen is displayed when the [JOB STATUS] key on the operat
Seite 55
1-111AUDITING MODEWhen the account counter function is turned on, a count is kept of the number of copy sheets used by each account(maximum of 200 acc
Seite 56 - Roller rotating
AUDITING MODE1-121Enter your account number (5 digits) withthe numeric keys.As you enter youraccount number, thehyphens ( ) change toasterisks ( ).
Seite 57
2-1CHAPTER 2MANAGING THE MACHINEThis chapter explains how to load paper, replace the toner cartridge,and remove paper misfeeds. It also contains infor
Seite 58
2-2LOADING PAPERThe message "ADD PAPER" or "OPEN TRAY AND ADD PAPER" will appear when paper runs out during operation.Follow the p
Seite 59
LOADING PAPER2-324Load paper into the tray.5Gently push tray 1 into the machine.Push the tray firmly allthe way into themachine.6Set the paper type of
Seite 60
LOADING PAPER2-4Loading paper in the bypass trayThe bypass tray can be used to feed the same paper specified for paper tray 1 or for special papers.
Seite 61
LOADING PAPER2-52NOTES● Be sure to load 5-1/2" x 8-1/2" paper, A5 paper,and postcards as shown in the diagram below.Post cards.5-1/2" x
Seite 62
LOADING PAPER2-6 Setting envelopes or postcardsWhen setting envelopes or postcards in the bypass tray, set them in the orientation shown below.Pri
Seite 63 - LARGE CAPACITY TRAY
LOADING PAPER2-721Unlatch the duplex bypass/inverter unitand slide it to the left.Unlatch the unit andgently move it away fromthe machine. If themachi
Seite 64 - Loading paper
Part 1: General Information00-08.book 1 ページ 2002年11月8日 金曜日 午前9時39分
Seite 65 - Misfeed removal
LOADING PAPER2-8Loading paper in the duplex module/2 x 500 sheet paperdrawerUpper tray:The upper tray contains a duplex module that automatically turn
Seite 66
LOADING PAPER2-92Specifications of paper traysThe specifications for the types and sizes of paper that can be loaded in the paper trays are shown belo
Seite 67 - Part 2: Copier Operation
LOADING PAPER2-10 More information on plain paperThe following restrictions apply to plain paper. Be sure to load the paper correctly. Incorrect l
Seite 68
LOADING PAPER2-112Setting the paper type (except the bypass tray)Follow these steps to change the paper type settingwhen the paper type has been chang
Seite 69 - CHAPTER 4
LOADING PAPER2-12Setting the paper type and paper size in the bypass trayFollow the steps below to set the type and size of the paper loaded in the by
Seite 70
2-132CUSTOM SETTINGSThe items that can be set with the custom settings are shown below.● Total count ... The number of
Seite 71 - Operation Panel
CUSTOM SETTINGS2-143Touch the year, month, day, hour orminute key, and then use the or keyto adjust the setting.If you select a non-existent date
Seite 72
2-152REPLACING THE TONER CARTRIDGESWhen toner runs low, "[ ] TONER SUPPLY IS LOW" appears in the display. Check the message to see whichcolo
Seite 73 - Acceptable originals
REPLACING THE TONER CARTRIDGES2-165Remove the protective material from thenew toner cartridge.6Insert the new toner cartridge.Align the insert holesas
Seite 74 - SETTING ORIGINALS
2-172STORAGE OF SUPPLIESStandard supplies for this product that can replaced by the user include paper, toner cartridges, and staple cartridgesfor the
Seite 75
00-08.book 2 ページ 2002年11月8日 金曜日 午前9時39分
Seite 76
2-18MISFEED REMOVALWhen a misfeed has occurred during printing, the message "MISFEED HAS OCCURRED." will appear in the touchpanel display of
Seite 77 - CHAPTER 5
MISFEED REMOVAL2-192Misfeed in the paper feed areaMisfeed in the 500 sheet paper drawer1Open the upper side cover.Grasp the finger holdand gently open
Seite 78 - NORMAL COPYING
MISFEED REMOVAL2-20Misfeed in the transport area, fusing area, and exit areaTransport area1Open the upper side cover and check for amisfeed.Grasp the
Seite 79 - 2-SIDED COPY
MISFEED REMOVAL2-212Misfeed in the stand/1 x 500 sheet paper drawer1Open the upper and lower side covers.Grasp the finger holdsand gently open thecove
Seite 80 - Copy mode output restrictions
MISFEED REMOVAL2-22Misfeed in the duplex bypass/inverter unit and duplexmodule/2 x 500 sheet paper drawer1Perform steps 1 and 2 of "Misfeed in th
Seite 81 - About the offset function
MISFEED REMOVAL2-23210Remove the misfed paper from the duplexmodule.Be careful not to tear themisfed paper duringremoval.11Gently close the duplex mod
Seite 82 - Touch the [OK] key
2-24TROUBLESHOOTINGProblems related to general functions of the machine are described in this section. For problems related specificallyto copying, se
Seite 83 - AUTO 8½x11
TROUBLESHOOTING2-252The displayed papersize differs from theloaded paper size.The display of the tray's paper size slidediffers from the paper si
Seite 84
00-08.book 26 ページ 2002年11月8日 金曜日 午前9時39分
Seite 85 - (page 4-6)
3-1CHAPTER 3PERIPHERAL DEVICESThis chapter explains procedures for using the Saddle Stitch Finisher(AR-F13) and Large Capacity Tray (AR-LC5).PageSADDL
Seite 86 - EXPOSURE ADJUSTMENTS
0-1PRODUCT CONFIGURATIONSThe table below shows the product models covered by this manual. (As of October 2002)OPERATION MANUALSThe following operation
Seite 87
3-2SADDLE STITCH FINISHERThe saddle stitch finisher can automatically place two staples for centerline binding of prints or copies and fold themalong
Seite 88 - REDUCTION/ENLARGEMENT/ZOOM
SADDLE STITCH FINISHER3-33Specifications are subject to change for improvement without notice.SuppliesAR-SC2 staple cartridges must be used for this f
Seite 89 - COPY RATIO
SADDLE STITCH FINISHER3-4Saddle stitch finisher functions Sort modeSorted sets will be delivered. Group modeGroups of copies of the same page
Seite 90
SADDLE STITCH FINISHER3-53 Saddle stitch functionThe saddle stitch finisher can automatically placetwo staples for centerline binding of prints or
Seite 91
SADDLE STITCH FINISHER3-6Using the saddle stitch finisherTouch the [Output] key on the main screen of copy mode to display the screen that allows sele
Seite 92 - ENVELOPE
SADDLE STITCH FINISHER3-73Staple cartridge replacement and staple jam removalWhen the staple cartridge becomes empty or staples become jammed, a messa
Seite 93 - SPECIAL PAPERS
SADDLE STITCH FINISHER3-8 Staple jam removal1Unlatch the saddle stitch finisher and slideit away from the main unit.2Open the front cover.3Turn ro
Seite 94
SADDLE STITCH FINISHER3-9311Raise the lever at the end of the staple box.Remove the top staple ifit is bent. If bent staplesremain, a staple jam willo
Seite 95 - CHAPTER 6
SADDLE STITCH FINISHER3-10Misfeed in the saddle stitch finisherWhen a misfeed occurs in the saddle stitch finisher, remove the misfed paper following
Seite 96 - SPECIAL MODES
SADDLE STITCH FINISHER3-11310Remove the misfed paper.Be careful not to tear themisfed paper duringremoval.11Turn roller rotating knob in the direction
Seite 97
0-2Improper installation may damage this product. Please note the following during initial installation and whenever themachine is moved.1. The machin
Seite 98 - Margin shift
SADDLE STITCH FINISHER3-12Troubleshooting saddle stitch finisher problemsCheck the list below before calling for service.* When a hole punch module is
Seite 99 - CENTER EDGE+CENTER
SADDLE STITCH FINISHER3-133Stapling position quick reference guide for duplex outputThe orientation of the copy paper, original, scanned original data
Seite 100 - Dual page copy
SADDLE STITCH FINISHER3-14Relation between print image and saddle stitchThe orientation of the copy paper, original, scanned original data, and bindin
Seite 101 - MODES screen
3-153LARGE CAPACITY TRAYThe large capacity tray provides the added convenience of having 3,000 additional sheets of 8-1/2" x 11" (A4) papera
Seite 102 - TRANSPARENCY
LARGE CAPACITY TRAY3-16Loading paperThe large capacity tray will automatically lower when the tray runs out of paper.1Press the paper tray control but
Seite 103 - ■ Not copying onto a cover
LARGE CAPACITY TRAY3-173Misfeed removalWhen a misfeed occurs in the large capacity tray, remove the misfed paper, following the procedure below.1While
Seite 104 - PRINT ON FRONT COVER?
00-08.book 18 ページ 2002年11月8日 金曜日 午前9時39分
Seite 105 - COLOR ADJUSTMENTS MENU
Part 2: Copier Operation00-08.book 1 ページ 2002年11月8日 金曜日 午前9時39分
Seite 106 - COLOR BALANCE
00-08.book 2 ページ 2002年11月8日 金曜日 午前9時39分
Seite 107 - SOFT SHARP
4-1CHAPTER 4BEFORE MAKING COPIESThis chapter provides basic information necessary for using the copierfunctions of the machine. Please read this chapt
Seite 108 - Color balance
INSTALLATION REQUIREMENTS0-3Moving this machinePull out the four handles as shown below, grasp them firmly, and keep the machine horizontal while movi
Seite 109 - OKCANCEL
4-2PART NAMES AND FUNCTIONS(The Reversing Automatic Document Feeder)Exterior[ ]Original reminder (page 4-6)Indicates an original is still on the docum
Seite 110 - IMAGE EDIT MENU
PART NAMES AND FUNCTIONS (The Reversing Automatic Document Feeder)4-34Operation PanelTouch panel (Details are on the next page 4-4)Messages and touch
Seite 111 - Original Copy
PART NAMES AND FUNCTIONS (The Reversing Automatic Document Feeder)4-4Touch Panel (main screen of copy mode)The main screen of copy mode shows messages
Seite 112 - Photo Repeat
4-54REVERSING AUTOMATIC DOCUMENT FEEDEROriginals set in the optional reversing automatic document feeder will be automatically fed and copied sequenti
Seite 113 - Centering scale
4-6SETTING ORIGINALS When using the reversing automaticdocument feeder1Open the document cover, make sure thatan original has not been left on the
Seite 114 - E PAMPHLET COPY
SETTING ORIGINALS4-74 Standard original setting orientationPlace originals in thedocument feeder tray or onthe document glass so thatthe top and b
Seite 115 - FULL-BLEED
00-08.book 8 ページ 2002年11月8日 金曜日 午前9時39分
Seite 116
5-1CHAPTER 5BASIC PROCEDURE FOR MAKING COPIESThis chapter explains the procedures for using basic copy functions,including making normal copies and en
Seite 117 - CANCEL OK
5-2NORMAL COPYINGThis section describes the normal copying procedure.Copying from the reversing automatic document feeder 1-sided copies of 1-side
Seite 118 - AUTO IMAGE
NORMAL COPYING5-357Select the desired output mode (see page5-5).The sort mode is thedefault mode.To select the groupmode, touch the[OUTPUT] key, thent
Seite 119 - SIZE PAMPHLET COPY
0-4CAUTIONS1. Do not touch the photoconductive drum. Scratchesor smudges on the drum will cause dirty prints.2. The fusing unit is extremely hot. Exe
Seite 120 - RECALL STORE/
NORMAL COPYING5-4Copy mode output restrictions: Copying possible using selected settings : Copying not possible* 12" x 18" (A3W)-size pap
Seite 121 - Deleting a stored job program
NORMAL COPYING5-55Copy output (sort and group)Example: Making five sets or five copies each of three originals● Sorting copies into sets● Grouping cop
Seite 122 - READ-END
NORMAL COPYING5-6Automatic two-sided copying from the reversing automaticdocument feederWhen a duplex module/2 x 500 sheet paper drawer and a duplex b
Seite 123 - CHAPTER 7
NORMAL COPYING5-75Copying from the document glassWhen copying originals which cannot be fed from the reversing automatic document feeder such as thick
Seite 124 - REMOVING AN ORIGINAL MISFEED
NORMAL COPYING5-84Select the desired output mode. (See page5-5.)When a document isdetected on thedocument glass, thegroup mode will beautomatically s
Seite 125 - USER MAINTENANCE
NORMAL COPYING5-95Automatic two-sided copying from the document glassWhen a duplex module/2 x 500 sheet paper drawer and a duplex bypass/inverter unit
Seite 126 - TROUBLESHOOTING
5-10EXPOSURE ADJUSTMENTSExposure selections for this copier should be selected according to the type of originals being copied: TEXT/PRTD.PHOTO, TEXT/
Seite 127
EXPOSURE ADJUSTMENTS5-1153If a setting other than "AUTO" has beenselected in step 2, manually adjust thecopy exposure.Touch the key tomake
Seite 128
5-12REDUCTION/ENLARGEMENT/ZOOMReduction and enlargement ratios can be selected either automatically or manually as described in this section.Automatic
Seite 129 - CHAPTER 8
REDUCTION/ENLARGEMENT/ZOOM5-135Manual selectionManual selections can be made in the range of 25% to 400%.There are four preset reduction ratios (25%,
Seite 130 - SPECIFICATIONS
0-5CONTENTSPRODUCT CONFIGURATIONS...0-1OPERATION MANUALS...0-1INSTALLA
Seite 131
REDUCTION/ENLARGEMENT/ZOOM5-146Ensure that the desired paper size hasbeen automatically selected based on theselected copy ratio or select another siz
Seite 132
REDUCTION/ENLARGEMENT/ZOOM5-155XY ZOOMThe XY ZOOM feature allows the horizontal and vertical copy ratios to be changed independently.If this feature i
Seite 133
REDUCTION/ENLARGEMENT/ZOOM5-167Use the reduction, enlargement, andZOOM ([ ], [ ]) keys to change thecopy ratio in the vertical (Y) direction.A fixed r
Seite 134
5-175SPECIAL PAPERSSpecial papers including transparency film, postcards and envelopes must be fed through the bypass tray.1Place the original in the
Seite 135
00-08.book 18 ページ 2002年11月8日 金曜日 午前9時39分
Seite 136
6-1CHAPTER 6CONVENIENT COPY FUNCTIONSThis chapter explains special-purpose functions, storing of copysettings, and other convenient functions. Please
Seite 137
6-2SPECIAL MODESWhen the [SPECIAL MODES] key on the main screen of the copy mode is touched, the special modes screencontaining eight special function
Seite 138
SPECIAL MODES6-36Common operation procedure for using the specialfunctions1Touch the [SPECIAL MODES] key.2Touch the key for the desired specialmode.Ex
Seite 139
SPECIAL MODES6-4Margin shiftThe margin shift function will automatically shift the text or image on the copy paper approximately 1/2" (10 mm) ini
Seite 140 - SHARP CORPORATION
SPECIAL MODES6-56EraseThe erase function is used to erase the shadow lines on copies produced when copying thick originals or books. Theerase modes th
Verwandte Produkte und Handbücher für Drucker Sharp AR-C260
Drucker Sharp AL-1670 Bedienungsanleitung
 (72 Seiten)
(72 Seiten)
Drucker Sharp MX-7001 Bedienungsanleitung
(710 Seiten)
(710 Seiten)
Drucker Sharp UX-CD600 Bedienungsanleitung
(156 Seiten)
(156 Seiten)
Drucker Sharp AR-BC260 Bedienungsanleitung
(140 Seiten)
(140 Seiten)
Drucker Sharp MX-M1100 Bedienungsanleitung
(32 Seiten)
(32 Seiten)
Drucker Sharp AL-1641CS Bedienungsanleitung
(20 Seiten)
(20 Seiten)
Drucker Sharp AR-M355N Bedienungsanleitung
(380 Seiten)
(380 Seiten)
Drucker Sharp AR-650 Bedienungsanleitung
(181 Seiten)
(181 Seiten)
Drucker Sharp MX-3100N Bedienungsanleitung
(799 Seiten)
(799 Seiten)
Drucker Sharp MX-M850 Bedienungsanleitung
(655 Seiten)
(655 Seiten)
Drucker Sharp AL-1215 Bedienungsanleitung
(88 Seiten)
(88 Seiten)
Drucker Sharp AR-350 Bedienungsanleitung
(118 Seiten)
(118 Seiten)
Drucker Sharp AR-C360P Bedienungsanleitung
(121 Seiten)
(121 Seiten)
Drucker Sharp AL-1340 Bedienungsanleitung
(46 Seiten)
(46 Seiten)
Drucker Sharp AL-1610 Bedienungsanleitung
(47 Seiten)
(47 Seiten)
Drucker Sharp DX-B350P Bedienungsanleitung
(28 Seiten)
(28 Seiten)
Drucker Sharp AL-1456 Bedienungsanleitung
(88 Seiten)
(88 Seiten)
Drucker Sharp AM-300 Bedienungsanleitung
(2 Seiten)
(2 Seiten)
Drucker Sharp MX-C401 Bedienungsanleitung
(849 Seiten)
(849 Seiten)
Drucker Sharp 4501 Bedienungsanleitung
(32 Seiten)
(32 Seiten)
Dell Inspiron 1428 manuals
Owner’s manuals and user’s guides for Input device accessories Dell Inspiron 1428.
We providing 1 pdf manuals Dell Inspiron 1428 for download free by document types: Service Manual

Dell Inspiron 1428 Service Manual (82 pages)
Brand: Dell | Category: Input device accessories | Size: 4.34 MB |
Table of contents
Contents
3
Hinge Cover
15
Keyboard
17
20 Keyboard
20
Hard Drive
21
Base Cover
33
Assembly
39
Display
47
Display 55
55
Display 57
57
58 Display
58
System Board
73
More products and manuals for Input device accessories Dell
| Models | Document Type |
|---|---|
| D520 |
User's Guide
Dell D520 User`s guide [en] ,
42 pages
|
| Inspiron 1011 |
Setup Guide
Dell Inspiron 1011 Setup guide,
42 pages
|
© 2020, manymanuals.de. Alle Rechte vorbehalten. | 0.035 s |
 Manymanuals.com
 Manymanuals.de
 Manymanuals.fr
 Manymanuals.it
 Manymanuals.pl
 Manymanuals.cz
 Manymanuals.es
 Manymanuals-pt.com
Kommentare zu diesen Handbüchern