Sharp AR-150 SERIES Spezifikationen
Stöbern Sie online oder laden Sie Spezifikationen nach Kopierer Sharp AR-150 SERIES herunter. Sharp AR-150 SERIES Specifications Benutzerhandbuch
- Seite / 56
- Inhaltsverzeichnis
- FEHLERBEHEBUNG
- LESEZEICHEN

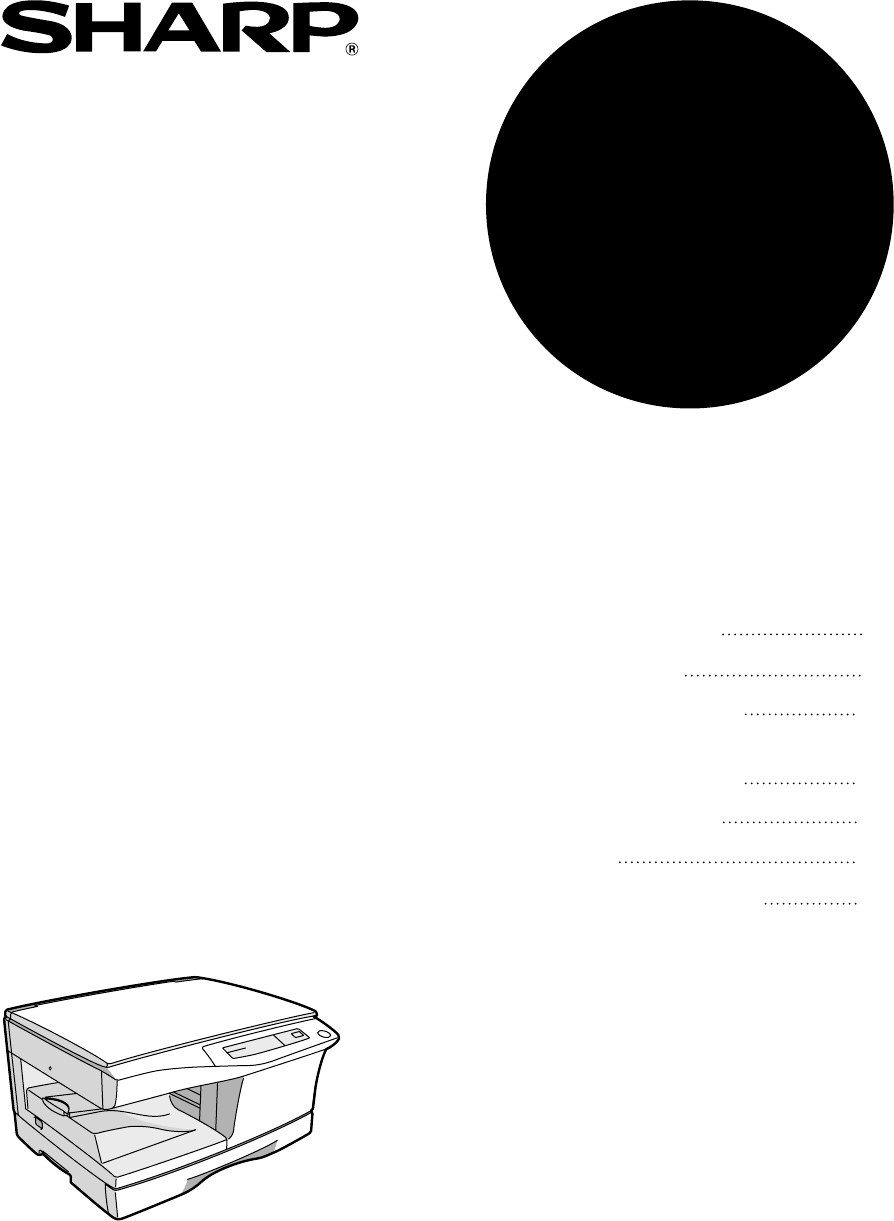
- DIGITAL LASER COPIER 1
- OPERATION MANUAL 1
- CLASS 1 LASER PRODUCT 2
- LASER KLASSE 1 2
- LUOKAN 1 LASERLAITE 2
- KLASS 1 LASERAPPARAT 2
- CONTENTS 3
- 7 OPTIONAL EQUIPMENT 4
- GETTING STARTED 5
- CAUTIONS 6
- MAIN FEATURES 7
- PART NAMES 8
- OPERATION PANEL 9
- COPIER INSTALLATION 10
- CAUTIONS ON HANDLING 11
- LOADING COPY PAPER 12
- Paper guide 12
- MAKING COPIES 14
- Tens digit Units digit 15
- Setting a large original 16
- REDUCTION/ENLARGEMENT/ZOOM 17
- TWO-SIDED COPYING 19
- SPECIAL FUNCTIONS 21
- TONER SAVE MODE 22
- USER PROGRAMS 23
- SUPPLIES AND USER MAINTENANCE 24
- 4 or 5 times 25
- DRUM CARTRIDGE REPLACEMENT 26
- Drum cartridge life 27
- USER MAINTENANCE 27
- Transfer charger 28
- When copier is not in use 29
- COPIER TROUBLE? 30
- Fusing unit release lever 31
- MAINTENANCE REQUIRED 33
- TROUBLESHOOTING 34
- STATUS INDICATORS 35
- AUTOMATIC EXPOSURE ADJUSTMENT 36
- APPENDIX 38
- SUPPLIES 39
- OPTIONAL EQUIPMENT 41
- SINGLE PASS FEEDER (AR-SP3) 42
- Original face up 43
- Feeding roller cover 43
- Side cover 45
- Specifications 46
- Section 3. Ingredients 49
- Section 5. Health Hazard Data 49
- Appendix 50
- SHARP CORPORATION 56
Inhaltsverzeichnis
MODELAR-150•GETTING STARTED•MAKING COPIES•SPECIAL FUNCTIONS•SUPPLIES AND USER MAINTENANCE•COPIER TROUBLE? •APPENDIX•OPTIONAL EQUIPMENT 3121922283639DI
81Getting startedCOPIER INSTALLATIONImproper installation may damage the copier. Please note the following during initial installationand whenever the
91Getting started20cm (8")20cm (8")10cm(4")10cm(4")COPIER INSTALLATIONBe sure to allow the required spacearound the machine for se
101Getting startedLOADING COPY PAPERRaise the handle of the paper tray and pull the paper tray out until it stops.Adjust the paper guides on the paper
111Getting startedLOADING COPY PAPERGently push the paper tray back into the copier.After loading copy paper, to cancel the blinking “P” without resta
122Making copiesMAKING COPIESThis chapter describes basic copying functions and some other copying functions using thebypass tray.NORMAL COPYINGEnsure
132Making copiesNORMAL COPYINGTens digit Units digitOpen the original cover.Place the original face down on the original table. Align it with the orig
142Making copiesPress the print ( ) key.●To display the number of copies made in a continuous run, press the leftcopy quantity key.●To stop copying in
152Making copiesPress the exposure mode selector key to select the manual ( ) mode or photo( ) mode.Use the light ( ) and dark ( ) keys to adjust the
162Making copiesPreset reduction and enlargement ratiosare: 50%, 70%, 81%, 141%, and 200%(50%, 64%, 78%, 129%, and 200%)When a zoom ( or ) key is pr
172Making copiesTo close the bypass tray, performstep1 and then step 2 in theillustration and push the roundprojections at the right of the trayuntil
VAROITUS!LAITTEEN KÄYTTÄMINEN MUULLA KUIN TÄSSÄ KÄYTTÖOHJEESSA MAINITULLA TAVALLA SAATTAA ALTISTAA KÄYTTÄJÄN TURVALLISUUSLUOKAN 1 YLITTÄVÄLLE NÄKYMÄTT
182Making copiesPlace the first original on the original table and make a copy.The first copy can be made using either the paper tray or the bypass tr
193Special functionsSPECIAL FUNCTIONSDESCRIPTION OF SPECIAL FUNCTIONSThis chapter describes the special functions of this copier. Use these functions
203Special functionsTONER SAVE MODEPress and hold down the exposure mode selector key for approximately 5 seconds.The manual ( ) indicator will go out
213Special functionsUSER PROGRAMSPress the print ( ) key. The entered program number will be steadily lit and thecurrently selected parameter number f
224Supplies and user maintenanceSUPPLIES AND USER MAINTENANCEThis chapter describes how to replace the TD cartridge and the drum cartridge and how toc
234Supplies and user maintenanceTD CARTRIDGE REPLACEMENTRemove the TD cartridge from the bag. Remove the protective paper. Hold the cartridgeon both s
244Supplies and user maintenanceDRUM CARTRIDGE REPLACEMENTThe useful life of the drum cartridge is approximately 18.000 copies. When the internal coun
254Supplies and user maintenanceDRUM CARTRIDGE REPLACEMENT Gently install the TD cartridge. To install the TD cartridge, see page 22, TD CART
264Supplies and user maintenanceCabinetWipe the cabinet with a soft, clean cloth.Original table and original coverStains on the glass or cover will al
274Supplies and user maintenanceReturn the charger cleaner to its original position. Close the side cover by pressing theround projections near the si
1CONTENTS1 GETTING STARTEDINTRODUCTION 3CAUTIONS 4MAIN FEATURES 5PART NAMES 6OPERATION PANEL 7COPIER INSTALLATION 8CAUTIONS O
285Copier trouble?COPIER TROUBLE?This chapter describes misfeed removal and troubleshooting.MISFEED REMOVALWhen the misfeed ( ) indicator blinks or
295Copier trouble?MISFEED REMOVALA Misfeed in the paper feed areaGently remove the misfed paper from the paper feed area as shown in the illustration
305Copier trouble?MISFEED REMOVALGently remove the misfed paper from under the fusing unit as shown in the illustration.If the paper cannot be removed
315Copier trouble?Push gently on both sides of the front cover to open the cover.Rotate the feeding roller in the direction of the arrow and gently re
325Copier trouble?TROUBLESHOOTINGIf any problem occurs, check the list below before contacting the SHARP dealer.See page:Ð12ÐÐ13191934142614SolutionCo
335Copier trouble?STATUS INDICATORSWhen the following indicators light up or blink on the operation panel or the followingalphanumeric codes appear in
345Copier trouble?DISPLAYING TOTAL NUMBER OF COPIESUse the following procedure to display the total number of copies.Press the clear ( ) key to reset
355Copier trouble?Press the exposure selector key. The AUTO indicator will stop blinking and light upsteadily.This automatic exposure level will remai
366AppendixAPPENDIXSPECIFICATIONSType Digital laser copier, desk-top typeCopy system Dry, electrostatic transferOriginals Sheets, bound documentsOrigi
376AppendixSPECIFICATIONSNoise level Sound Power Level LWACopying: 66 [dB (A)], Standby: Background noise levelSound Pressure Level LPA (bystander po
25COPIER TROUBLE? MISFEED REMOVAL 28– A Misfeed in the paper feed area 29– B Misfeed in the fusing area 29– C Misfeed in the transport are
386Appendix* Do not use envelopes that have metal clasps, plastic snappers, string closures, windows,linings, self-adhesive, patches or synthetic mate
397Optional equipmentOPTIONAL EQUIPMENTSYSTEM CONFIGURATIONA number of options are available for the copier which allow you to configure a copier syst
407Optional equipmentSINGLE PASS FEEDER (AR-SP3)The single pass feeder (SPF) holds up to 30 originals for automatic feeding.Part namesDocument feeder
417Optional equipment●Before feeding originals in the document feeder tray, be sure to remove anystaples or paper clips from them.●Before placing curl
427Optional equipment(B) Open the original cover and rotate the roller rotating knob to remove the misfed originalfrom the exit area.If the misfed ori
437Optional equipment250-SHEET PAPER FEED UNIT (AR-DE9)The paper feed unit provides the convenience of increased paper capacity for the copier and agr
447Optional equipmentClose the lower side cover.Close the side cover by pressing the round projections near the side cover openbutton. The misfeed ( )
INDEX2250-sheet paper feed unit (AR-DE9)– misfeed removal . . . . . . . . . . . . . . . . 43– loading copy paper . . . . . . . . . . . . . . 43– par
PPaper– loading. . . . . . . . . . . . . . . . . . . . . . . . 10– special . . . . . . . . . . . . . . . . . . . . . . . . 37– specifications. . . .
SHARP Date Issued:Aug. 1, 1999MATERIAL SAFETY DATA SHEETMSDS No. F-00971Section 1. Product IdentificationProduct:AR-150TD/TD-J/DC/MI/MI-J/LI/CI/MT/MT-
31Getting startedGETTING STARTEDThis chapter provides basic information for using the copier.INTRODUCTIONThis copier has been designed to provide intu
487AppendixSection 6. Physical Chemical CharacteristicsBoiling / Melting Point: Not applicable Specific Gravity: 1.1Vapor Pressure: Not applicable Sol
SHARPDate Issued :Aug. 1, 1999MATERIAL SAFETY DATA SHEETMSDS No. F-30971Section 1. Product IdentificationProductAR-150TD/TD-J/DC/MI/MI-J/LI/CI (Black
Section 6. Physical Chemical CharacteristicsBoiling / Melting Point: Not applicable Specific Gravity: about 7.3Vapor Pressure: Not applicable Solubili
MEMO
In some areas, the "POWER" switch positions are marked "I" and " " on the copier instead of "ON" and "O
PRINTED IN CHINA2000C KS TINSE0366QSZZAR-150/AR-150NSHARP CORPORATION3
41Getting startedCAUTIONSFollow the cautions below when using this copier.●The fusing area is hot. Exercise care in this area when removing misfed pap
51Getting startedMAIN FEATURESHigh-speed laser copying●Since warm-up time is zero, copying can be started immediately after the power switch isturned
61Getting startedPART NAMESTransfer chargerTD cartridge lock release buttonTD cartridgeDrum cartridgeDrum cartridge handlePaper feed rollerFusing unit
71Getting startedOPERATION PANELExposure mode selector key and indicatorsUse to sequentially select the exposure modes:AUTO, MANUAL or PHOTO. Selected
Weitere Dokumente für Kopierer Sharp AR-150 SERIES


Verwandte Produkte und Handbücher für Kopierer Sharp AR-150 SERIES
 (80 Seiten)
(12 Seiten)
(2 Seiten)
(153 Seiten)
(159 Seiten)
(42 Seiten)
(200 Seiten)
(12 Seiten)
(56 Seiten)
(208 Seiten)
(19 Seiten)
(4 Seiten)
(68 Seiten)
(80 Seiten)
(12 Seiten)
(2 Seiten)
(153 Seiten)
(159 Seiten)
(42 Seiten)
(200 Seiten)
(12 Seiten)
(56 Seiten)
(208 Seiten)
(19 Seiten)
(4 Seiten)
(68 Seiten)
 (32 Seiten)
(95 Seiten)
(31 Seiten)
(43 Seiten)
(32 Seiten)
(95 Seiten)
(31 Seiten)
(43 Seiten)
© 2020, manymanuals.de. Alle Rechte vorbehalten. | 0.032 s |
 Manymanuals.com
 Manymanuals.de
 Manymanuals.fr
 Manymanuals.it
 Manymanuals.pl
 Manymanuals.cz
 Manymanuals.es
 Manymanuals-pt.com
Kommentare zu diesen Handbüchern